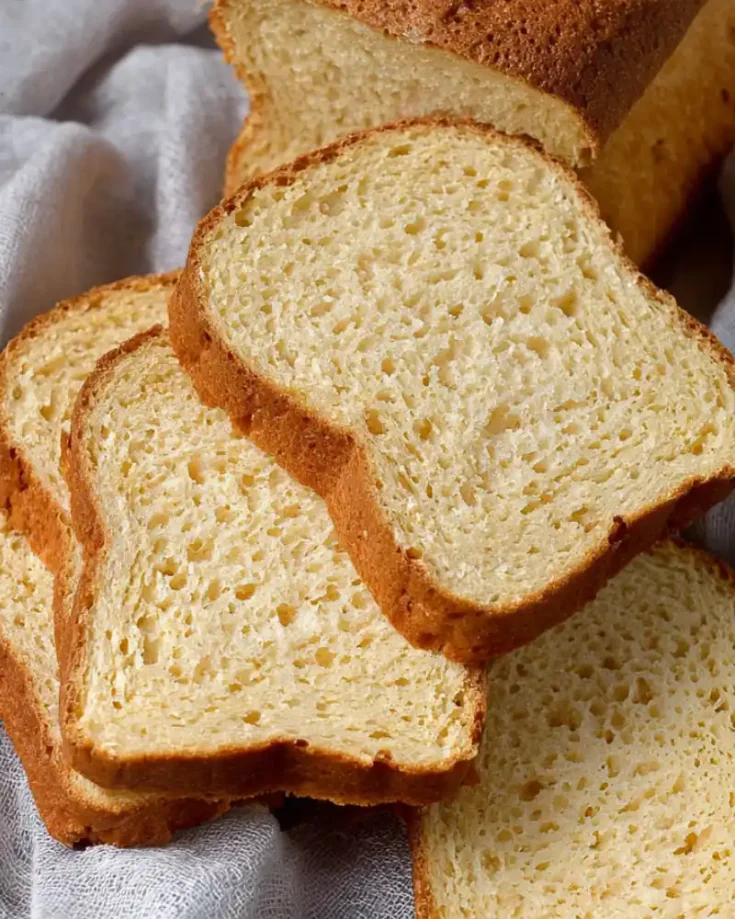
Soft, fluffy, and perfect for any sandwich, this gluten free sandwich bread is easy to make, slices beautifully, and tastes just like traditional bread. Ideal for celiac or gluten-sensitive diets.

If you’ve ever struggled to find gluten free sandwich bread that’s soft, tasty, and holds up for sandwiches, you’re not alone. I’ve been there too. Store-bought options are often disappointing, so I decided to create my own. This recipe is simple, delicious, and perfect for everyday use
Notes on Ingredients
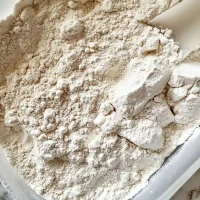
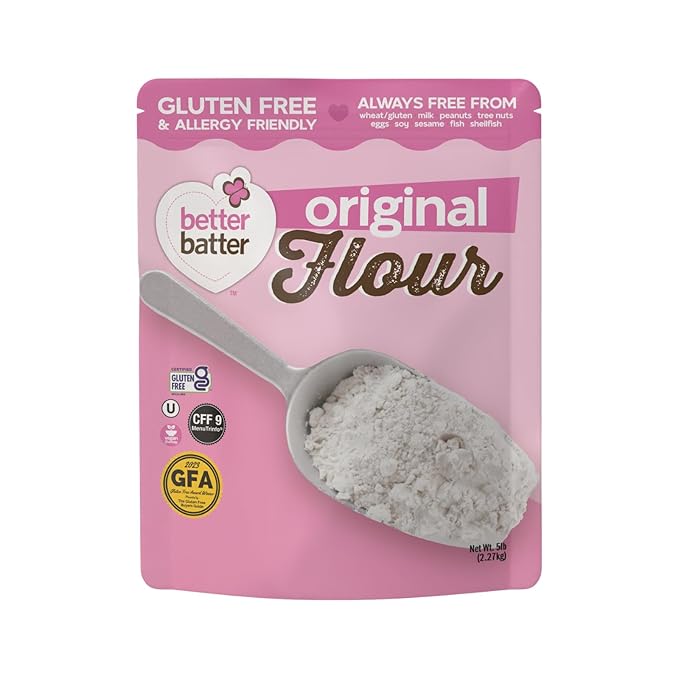
All-purpose gluten-free flour blend: Use a high-quality, yeast-friendly blend with starches and protein (e.g., Better Batter). Blends vary; results may change with substitutions. If your blend already contains xanthan gum, reduce or omit the added gum.
Xanthan gum: Provides structure and elasticity in place of gluten. Measure accurately; too much can make the crumb gummy.
Instant yeast: Instant yeast can be mixed directly with dry ingredients. If using active dry yeast, increase to ~10 g and proof it in warm milk first.
Cream of tartar: Adds acidity and helps strengthen structure and lift. Can be omitted if needed, but the crumb may be slightly less tender.
Granulated sugar: Feeds the yeast and improves browning and softness. Honey or maple sugar can work by weight.
Kosher salt: Controls yeast activity and enhances flavor. If using fine sea salt or table salt, reduce slightly (about 10–11 g).
Warm milk: Use 100–110°F (38–43°C). Dairy milk adds richness and softness; unsweetened dairy-free milk works as a substitute.
Unsalted butter, melted and cooled: Adds moisture and tenderness. Ensure it’s cooled to avoid harming yeast or cooking egg whites. Neutral oil can be substituted by weight.
Apple cider vinegar: Improves rise and crumb structure in gluten-free doughs; flavor does not remain after baking.
Egg whites, room temperature: Provide structure and lift without adding excess fat. The room temperature is more even.
Toasted sesame seeds: For topping only; add just before baking, so they adhere without weighing down the loaf.
How to Make Gluten Free Sandwich Bread
1. Prepare a 9-inch x 5-inch loaf pan by either greasing it generously or lining it with parchment paper. Set it aside momentarily.
2. In the bowl of a stand mixer equipped with the paddle attachment, combine the flour, xanthan gum, yeast, cream of tartar, and sugar. Before proceeding, use a handheld whisk to integrate these dry ingredients thoroughly. Introduce the salt and whisk again until the mixture is harmoniously blended.
3. Gradually incorporate the milk, softened butter, vinegar, and egg whites, mixing on low speed after each addition. Periodically pause to scrape down the interior sides of the mixer’s bowl to ensure all ingredients are amalgamated evenly. Once fully combined, increase the mixer’s speed to medium-high and continue mixing for approximately 3 minutes. The resulting dough should be dense yet velvety and distinctly moist.
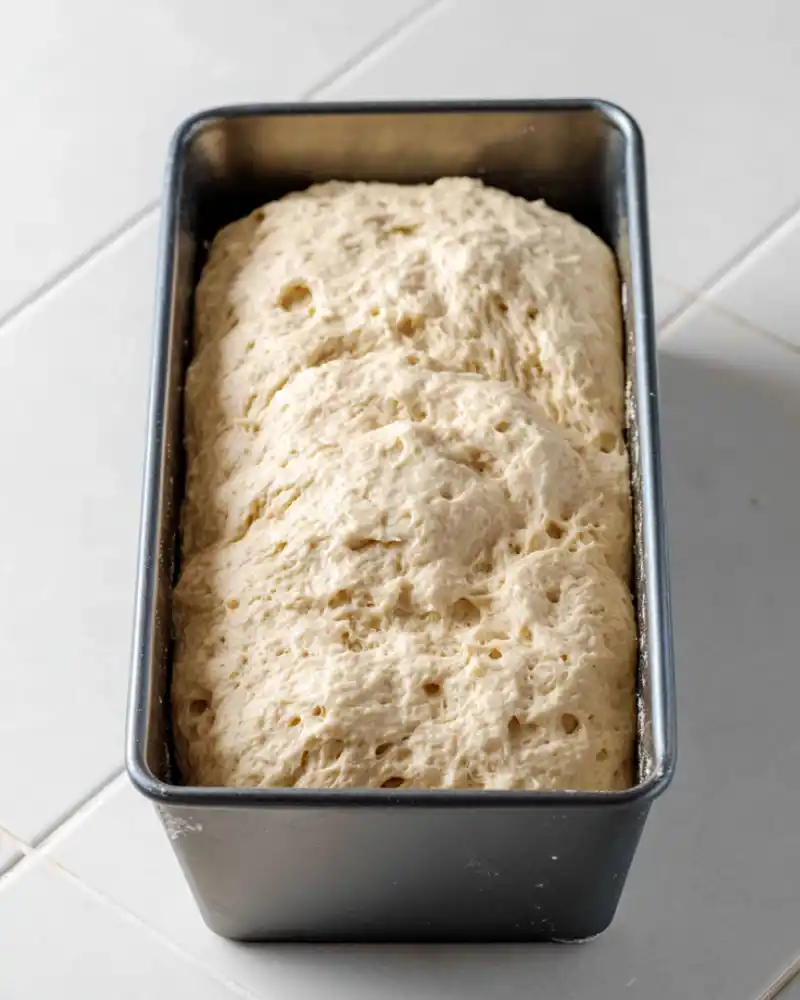
4. Transfer the dough to the prepared loaf pan, smoothing the surface with a spatula dipped in water to prevent sticking. Cover the pan with plastic wrap lightly coated with oil to avoid sticking during proofing.
5. Place the pan in a warm, draft-free environment to rise for 30 to 45 minutes or until the dough swells to approximately 150% of its original size. The dough should crest over the rim of the loaf pan by about half an inch when ready. Note that colder, drier conditions may extend the rising period, while warmer, more humid environments may expedite it.
6. As the dough nears the end of its rise, preheat your oven to 375°F (190°C). Once the dough is fully proofed, gently remove the plastic wrap. Using a sharp knife or a bread lame, make a shallow slash about 1/4 inch deep along the top of the loaf. If you prefer, brush the surface delicately with melted butter and sprinkle with optional seeds for added texture and flavor.
7. Position the pan on the oven’s middle or upper rack, depending on your oven’s heating dynamics. Bake for 45 minutes to 1 hour, or until the bread’s internal temperature registers around 195°F (90°C) on an instant-read thermometer. The exterior should develop a hearty, golden-brown crust, signaling its readiness.
8. Once baked, remove the loaf from the oven and let it rest in the pan for about 10 minutes. Transfer the bread to a wire rack to cool entirely before slicing.
9. To preserve freshness, allow the bread to cool completely, then slice and wrap it tightly.
10. Store in the freezer for future use, defrosting individual slices in a toaster as needed.
How to store your gluten free sandwich bread?
This delightful gluten-free bread, renowned for its tender crumb, is remarkably easy to store with proper care. To maintain its freshness, enclose the loaf securely in an airtight wrapping and keep it at ambient room temperature. In such conditions, the bread remains at its peak for approximately 48 hours.
It is advisable to refrain from pre-slicing the bread unless freezing is intended. Premature slicing may accelerate drying, depriving the loaf of its soft texture. Instead, slice portions as needed, ensuring the remaining loaf is promptly and securely rewrapped.
Should you encounter a slice that has begun to lose its luster and softness, a quick revival is possible. Lightly mist the slice with tepid water and warm it gently using a low toaster setting. This process reinvigorates the bread, allowing it to absorb the additional moisture and regain its tender quality.
Freezing this Gluten Free Sandwich Bread
This gluten free sandwich bread exhibits excellent freezeability, preserving its taste and texture for extended periods. While freezing the entire cooled loaf intact is an option, slicing it beforehand often proves more practical. Wrap each slice individually in freezer-safe material to prevent freezer burn. Alternatively, for those who prefer to freeze the loaf in its entirety but still pre-sliced, place parchment paper between the slices to ensure they do not adhere to one another during freezing.
When the craving for a sandwich strikes, simply extract the required number of slices from the freezer. There’s no necessity to thaw them beforehand; refresh the slices in a toaster directly, restoring their warm, soft texture in moments.

FAQs: Gluten Free Sandwich Bread
Which sandwich breads are gluten-free?
Gluten-free sandwich breads are made without wheat, barley, or rye and use gluten-free flour blends such as rice flour, sorghum, tapioca, or potato starch. Popular gluten-free options include white sandwich bread, multigrain-style loaves, oat bread (made with certified gluten-free oats), and homemade gluten-free sandwich bread using all-purpose gluten-free flour blends.
What is a common substitute for bread in a gluten-free sandwich?
Common gluten-free bread substitutes include lettuce wraps, corn tortillas, gluten-free wraps, rice cakes, gluten-free crackers, or slices of roasted vegetables like sweet potato or eggplant.
Is sourdough bread actually gluten-free?
Traditional sourdough bread is not gluten-free because it is usually made with wheat flour. While fermentation may reduce gluten, it does not completely remove it. Only sourdough made with certified gluten-free flours and a gluten-free starter is safe for a gluten-free diet.
What gluten-free bread is closest to real bread?
Gluten-free sandwich bread made with a high-quality all-purpose gluten-free flour blend, yeast, eggs or egg whites, and xanthan gum tends to be the closest in texture and taste to traditional wheat bread. Brands or homemade loaves designed specifically for soft sandwich bread usually offer the best results.
More Gluten-Free Bread Recipes to Make ASAP!
- Gluten Free Naan Bread Recipe
- Gluten Free Cinnamon Pull-Apart Bread
- Gluten Free Lemon Blueberry Bread
- Gluten Free Bread Recipe
- Gluten Free Sourdough Bread
- Gluten Free Banana Bread Recipe
You can also FOLLOW ME on Facebook and Pinterest to see more of the delicious food I’m making!
Gluten-Free Sandwich Bread
Make soft, fluffy gluten-free sandwich bread at home with this easy recipe. Perfect for sandwiches and toasts!
Ingredients
- 420 g all-purpose gluten-free flour blend
- 3 teaspoons xanthan gum
- 8 g instant yeast
- ¼ teaspoon cream of tartar
- 25 g granulated sugar
- 12 g kosher salt
- 1 ½ cups warm milk
- 56 g unsalted butter, melted and cooled
- 1 teaspoon apple cider vinegar
- 50 g egg whites, at room temperature
- Toasted sesame seeds for sprinkling, optional
Instructions
- Prepare a 9-inch x 5-inch loaf pan by either greasing it generously or lining it with parchment paper. Set it aside momentarily.
- In the bowl of a stand mixer equipped with the paddle attachment, combine the flour, xanthan gum, yeast, cream of tartar, and sugar. Before proceeding, use a handheld whisk to integrate these dry ingredients thoroughly. Introduce the salt and whisk again until the mixture is harmoniously blended.
- Gradually incorporate the milk, softened butter, vinegar, and egg whites, mixing on low speed after each addition. Periodically pause to scrape down the interior sides of the mixer’s bowl to ensure all ingredients are amalgamated evenly. Once fully combined, increase the mixer’s speed to medium-high and continue mixing for approximately 3 minutes. The resulting dough should be dense yet velvety and distinctly moist.
- Transfer the dough to the prepared loaf pan, smoothing the surface with a spatula dipped in water to prevent sticking. Cover the pan with plastic wrap lightly coated with oil to avoid sticking during proofing.
- Place the pan in a warm, draft-free environment to rise for 30 to 45 minutes or until the dough swells to approximately 150% of its original size. The dough should crest over the rim of the loaf pan by about half an inch when ready. Note that colder, drier conditions may extend the rising period, while warmer, more humid environments may expedite it.
- As the dough nears the end of its rise, preheat your oven to 375°F (190°C). Once the dough is fully proofed, gently remove the plastic wrap. Using a sharp knife or a bread lame, make a shallow slash about 1/4 inch deep along the top of the loaf. If you prefer, brush the surface delicately with melted butter and sprinkle with optional seeds for added texture and flavor.
- Position the pan on the oven's middle or upper rack, depending on your oven’s heating dynamics. Bake for 45 minutes to 1 hour or until the bread’s internal temperature registers around 195°F (90°C) on an instant-read thermometer. The exterior should develop a hearty, golden-brown crust, signaling its readiness.
- Once baked, remove the loaf from the oven and let it rest in the pan for about 10 minutes. Transfer the bread to a wire rack to cool entirely before slicing.
- To preserve freshness, allow the bread to cool completely, then slice and wrap it tightly.
- Store in the freezer for future use, defrosting individual slices in a toaster as needed.
Recommended Products
As an Amazon Associate and member of other affiliate programs, I earn from qualifying purchases.
Nutrition Information:
Yield:
10Serving Size:
1 sliceAmount Per Serving:Calories: 114Total Fat: 7gSaturated Fat: 4gTrans Fat: 0gUnsaturated Fat: 3gCholesterol: 15mgSodium: 493mgCarbohydrates: 38gFiber: 2gSugar: 4gProtein: 7g


Just made the bread its lovely & soft i just cut half the salt. I live in the UK.
so happy to hear that 🙂
If you’re gluten-free flour, already has xanthan gum in it. Do you still need to add the Santa come?
No, you don’t need
Which GF flour blend do you recommend? I’ve heard some don’t work well with yeast breads.
Can you use dairy free products?
yes you can.
I will try this bread recipe if for no other reason than I love your vocabulary.
Can you use cup for cup flour to make this recipe? For example the Bob’s Red Mill 1 to 1 four or does it need to be a different kind?
Yes, you can use Bob’s Red Mill 1-to-1 flour for gluten-free sandwich bread.
Just know it will work, but the loaf may be a little denser.
If you want the softest, fluffiest sandwich bread, blends like Cup4Cup or King Arthur Gluten-Free Bread Flour work better.
Curious….Why egg whites and not the whole egg?
Why in most GF bread recipes only the egg whites are used? Is it because of the yolk having supposed extra “fat” or is there another reason? Can I use the whole egg in GF recipes?
What does the g stand for, please
CAN I make this in my bread machine using dough cycle. I.e. take it out after proofing and bake in oven? Thank you.
Yes! You can usually use the dough cycle to mix and proof the dough, then bake it in the oven. Just remember that gluten-free bread typically only needs one rise, so bake it as soon as the dough cycle is finished. If possible, transfer the dough to your loaf pan before it proofs to avoid deflating it. 😊
Yummy, This looks so delicious, thanks for sharing. Going to try this also in a bread machine.