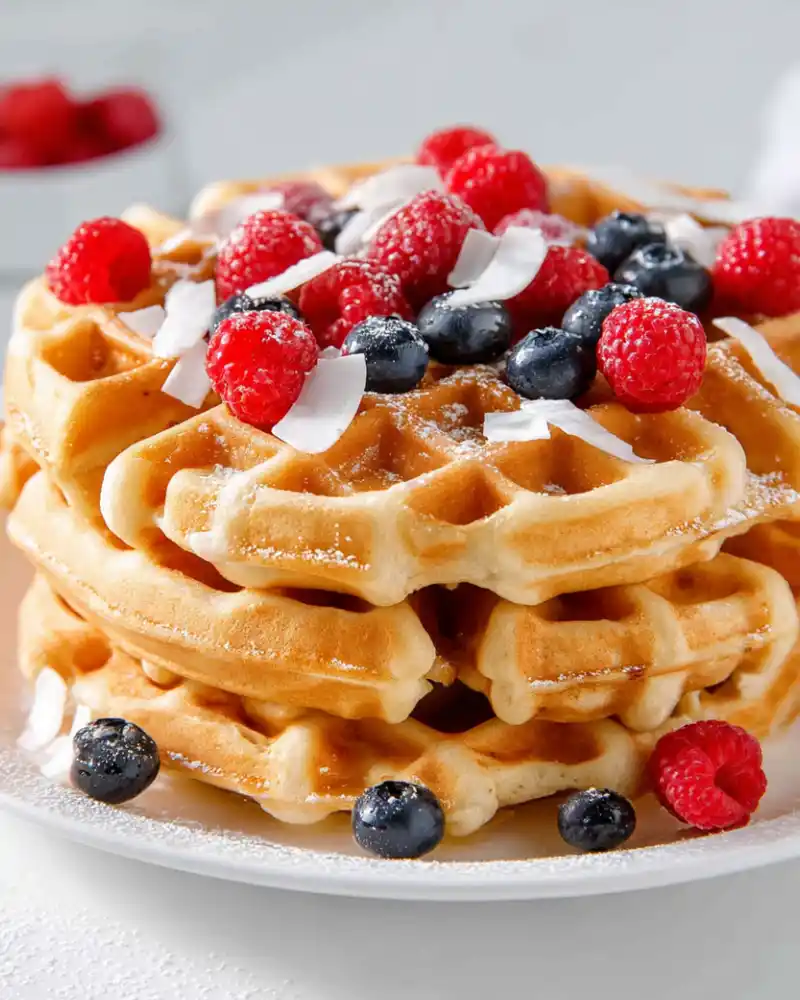
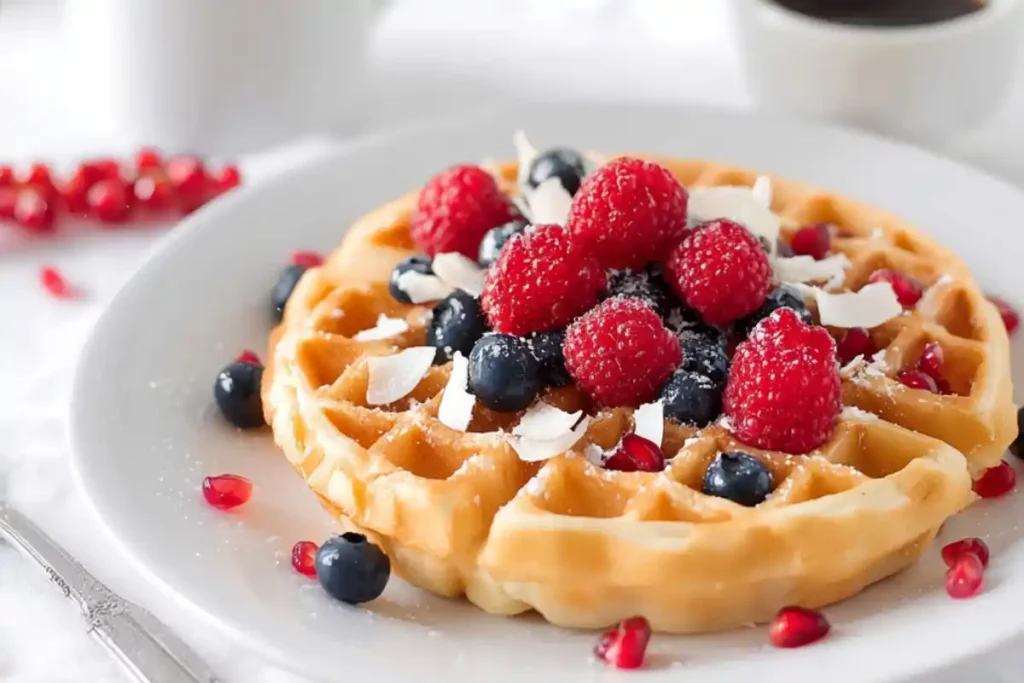
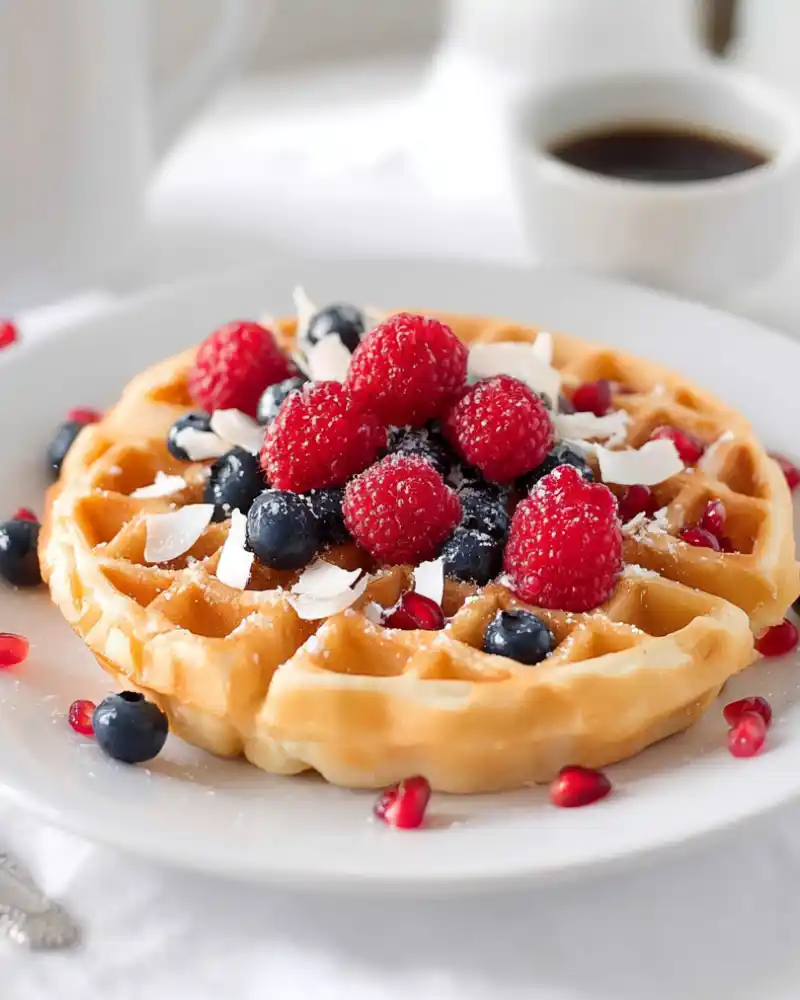
These gluten-free waffles are golden and crisp on the outside, fluffy and tender inside, with a lightly sweet vanilla flavor. A measure-for-measure gluten-free flour blend plus eggs and oil keeps the texture smooth (not gritty). Perfect for weekend brunch, holidays, or breakfast-for-dinner.
Why you’ll love these gluten-free waffles:
Crispy edges with a soft, fluffy center
Beginner-friendly batter that mixes in minutes
Flexible: works with canola oil or melted coconut oil
Make-ahead options (reheat like a pro for busy mornings)
Smooth texture approach: mix gently and don’t overcook for tenderness (a trick also used in trusted gluten-free chocolate cake methods, where measure-for-measure swaps aim for a tender, moist result)
Notes on Ingredients:
Gluten-free flour mix: Use a measure-for-measure blend meant for 1:1 swapping (like Bob’s Red Mill 1:1) so the waffles hold together and don’t taste sandy. If your blend doesn’t include xanthan gum, check the label; you may need a blend that already has it for the best structure.
Whole milk: Whole milk adds richness and helps the batter pour smoothly for a tender center. Start with 1.25 cups, then add up to 0.25 cup more only if the batter feels too thick to drizzle into the waffle iron.
Canola oil: Neutral-tasting canola oil keeps waffles moist and helps them crisp at the edges. Melted coconut oil also works; let it cool slightly so it doesn’t shock the eggs when you mix.
Vanilla and sugar: Vanilla gives that classic waffle flavor, and sugar adds gentle sweetness while helping the waffles brown and crisp. If you like sweeter waffles, add a little more sugar, but don’t remove it entirely, or they’ll brown less.
How to Make Gluten-Free Waffles
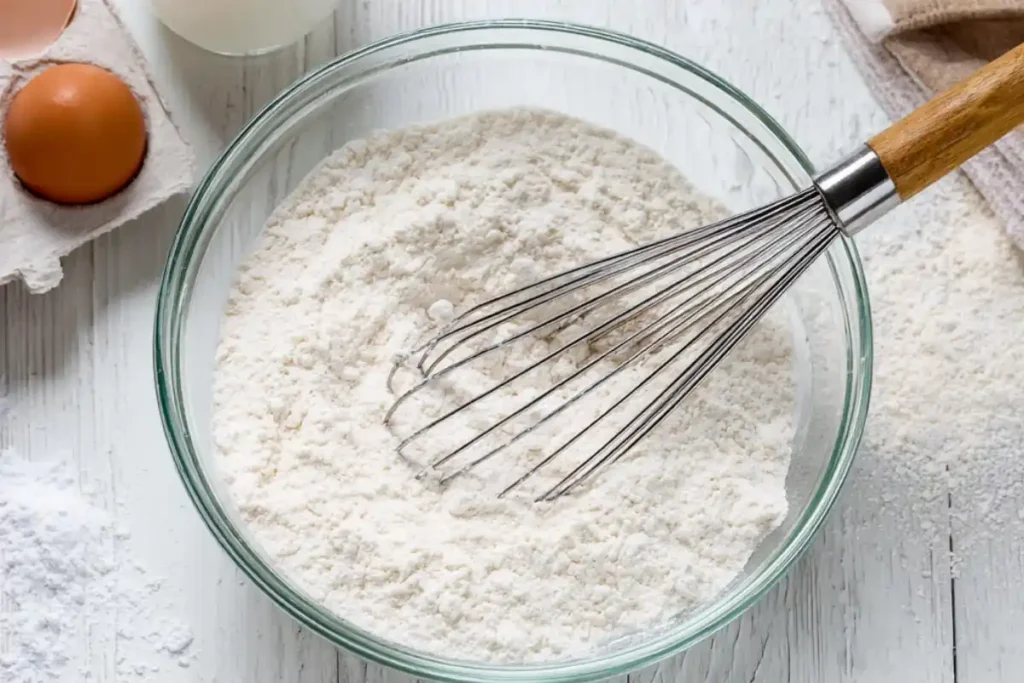
In a mixing bowl, combine the gluten-free flour, sugar, baking powder, and salt, whisking until evenly blended.
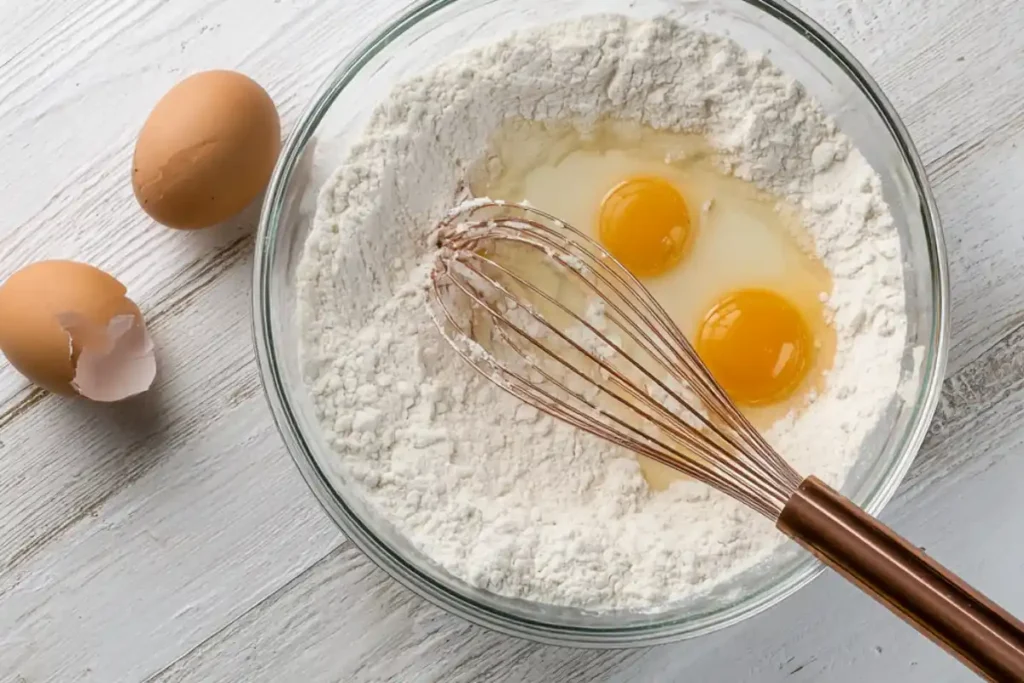
In a large measuring cup, combine the oil (canola or melted coconut oil), vanilla, and milk. Whisk in the eggs until fully combined.
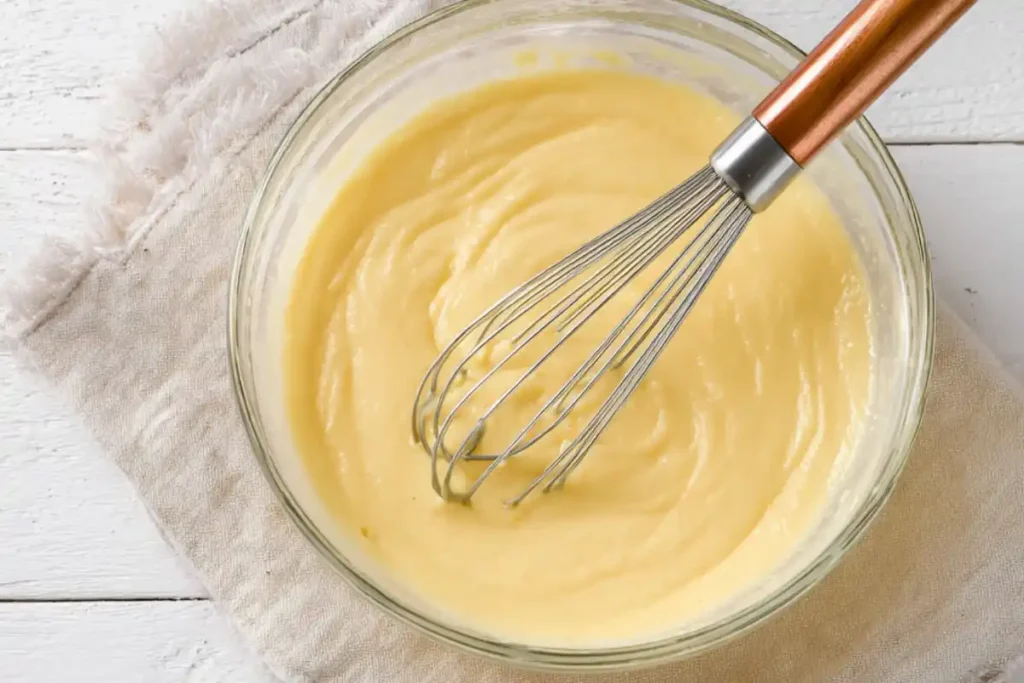
Pour the liquid ingredients into the dry mixture and gently stir until everything is just combined. A few small lumps are fine, don’t overmix (that gentle, moist technique is how many gluten-free chocolate cake bakers avoid a gritty texture and keep results tender). If the batter feels too thick, add a splash of milk and mix again until it’s smooth enough to pour or drizzle into your waffle iron.
Preheat your waffle iron. Lightly coat with canola oil or a nonstick cooking spray.
Once hot, pour about 1 cup of batter (or the amount your waffle maker recommends) onto the iron. Cook according to your waffle maker instructions. Mine uses an orange light that turns off when it’s ready.
Serve immediately with fresh fruit and warm maple syrup.
How to Reheat Cooked Waffles
- Toaster (best for crisping): Toast on medium until hot and crisp.
- Oven: Heat to 350∘F. Place waffles directly on the rack (or a sheet pan) for 6–10 minutes until warmed through.
- Air fryer: Heat to 350∘F for 3–5 minutes, checking early so they don’t dry out.
Storage instructions:
- Cooked waffles: Cool completely, then store in an airtight container in the fridge for up to 4 days.
- Freezer: Once the waffles have cooled, freeze them in a single layer. Next, place the waffles in a freezer bag and keep them frozen for up to 2 months.
- Batter: Store leftover waffle batter in an airtight container in the refrigerator for 2–3 days. To make fresh waffles, warm your waffle iron and scoop batter directly from the refrigerator.
FAQs:
Can I make this gluten-free waffles recipe dairy-free?
Yes. Swap the whole milk for an unsweetened dairy-free milk (oat, almond, or soy). For the best browning and a richer taste, choose a higher-fat option if you can. Use canola oil or melted coconut oil as written.
Why are my gluten-free waffles sticking?
This usually happens when the iron isn’t fully preheated, it needs more grease, or the waffles are opened too soon. Preheat longer, spray the plates well, and wait for your machine’s “ready” light or steam to slow down before opening. Also, batters that are too thin can stick—thicken slightly by using less extra milk.
What is the best gluten-free baking mix?
A reliable measure-for-measure blend designed for 1:1 swaps is your best bet for consistent waffles. Bob’s Red Mill 1:1 is a solid choice (and what’s used here). Whatever brand you choose, use one intended for baking (not straight almond or coconut flour) so you get the right structure and tenderness.
More gluten-free desserts to make ASAP!
- Gluten-Free Chocolate Cake
- Gluten-Free Oatmeal Cookies
- Gluten Free Red Velvet Cake
- Gluten-Free Cheesecake Brownies
You can also FOLLOW ME on Facebook and Pinterest to see more of the delicious food I’m making!
Gluten-Free Waffles

Ingredients
- 2 cups gluten-free flour, I used Bob's RedMill 1:1
- 3 tablespoons sugar
- 1 tablespoon baking powder
- 1 teaspoon sea salt
- 1.25 cups of whole milk, add up to ¼ cup more to smooth out your batter
- 3 tablespoons canola oil, melted coconut oil works well too
- 2 large eggs
- 1 tablespoon vanilla
Instructions
- In a mixing bowl, combine the gluten-free flour, sugar, baking powder, and salt, whisking until evenly blended.
- In a large measuring cup, combine the oil (canola or melted coconut oil), vanilla, and milk. Whisk in the eggs until fully combined.
- Pour the liquid ingredients into the dry mixture and gently stir until everything is just combined. A few small lumps are fine, don’t overmix (that gentle, moist technique is how many gluten-free chocolate cake bakers avoid a gritty texture and keep results tender). If the batter feels too thick, add a splash of milk and mix again until it’s smooth enough to pour or drizzle into your waffle iron.
- Preheat your waffle iron. Lightly coat with canola oil or a nonstick cooking spray.
- Once hot, pour about 1 cup of batter (or the amount your waffle maker recommends) onto the iron. Cook according to your waffle maker instructions. Mine uses an orange light that turns off when it’s ready.
- Serve immediately with fresh fruit and warm maple syrup.
Nutrition Information:
Yield:
8Serving Size:
1Amount Per Serving: Calories: 219Total Fat: 8gSaturated Fat: 6gUnsaturated Fat: 3gCholesterol: 51mgSodium: 178mgCarbohydrates: 56gFiber: 2gSugar: 8gProtein: 9g


